|
Post processing
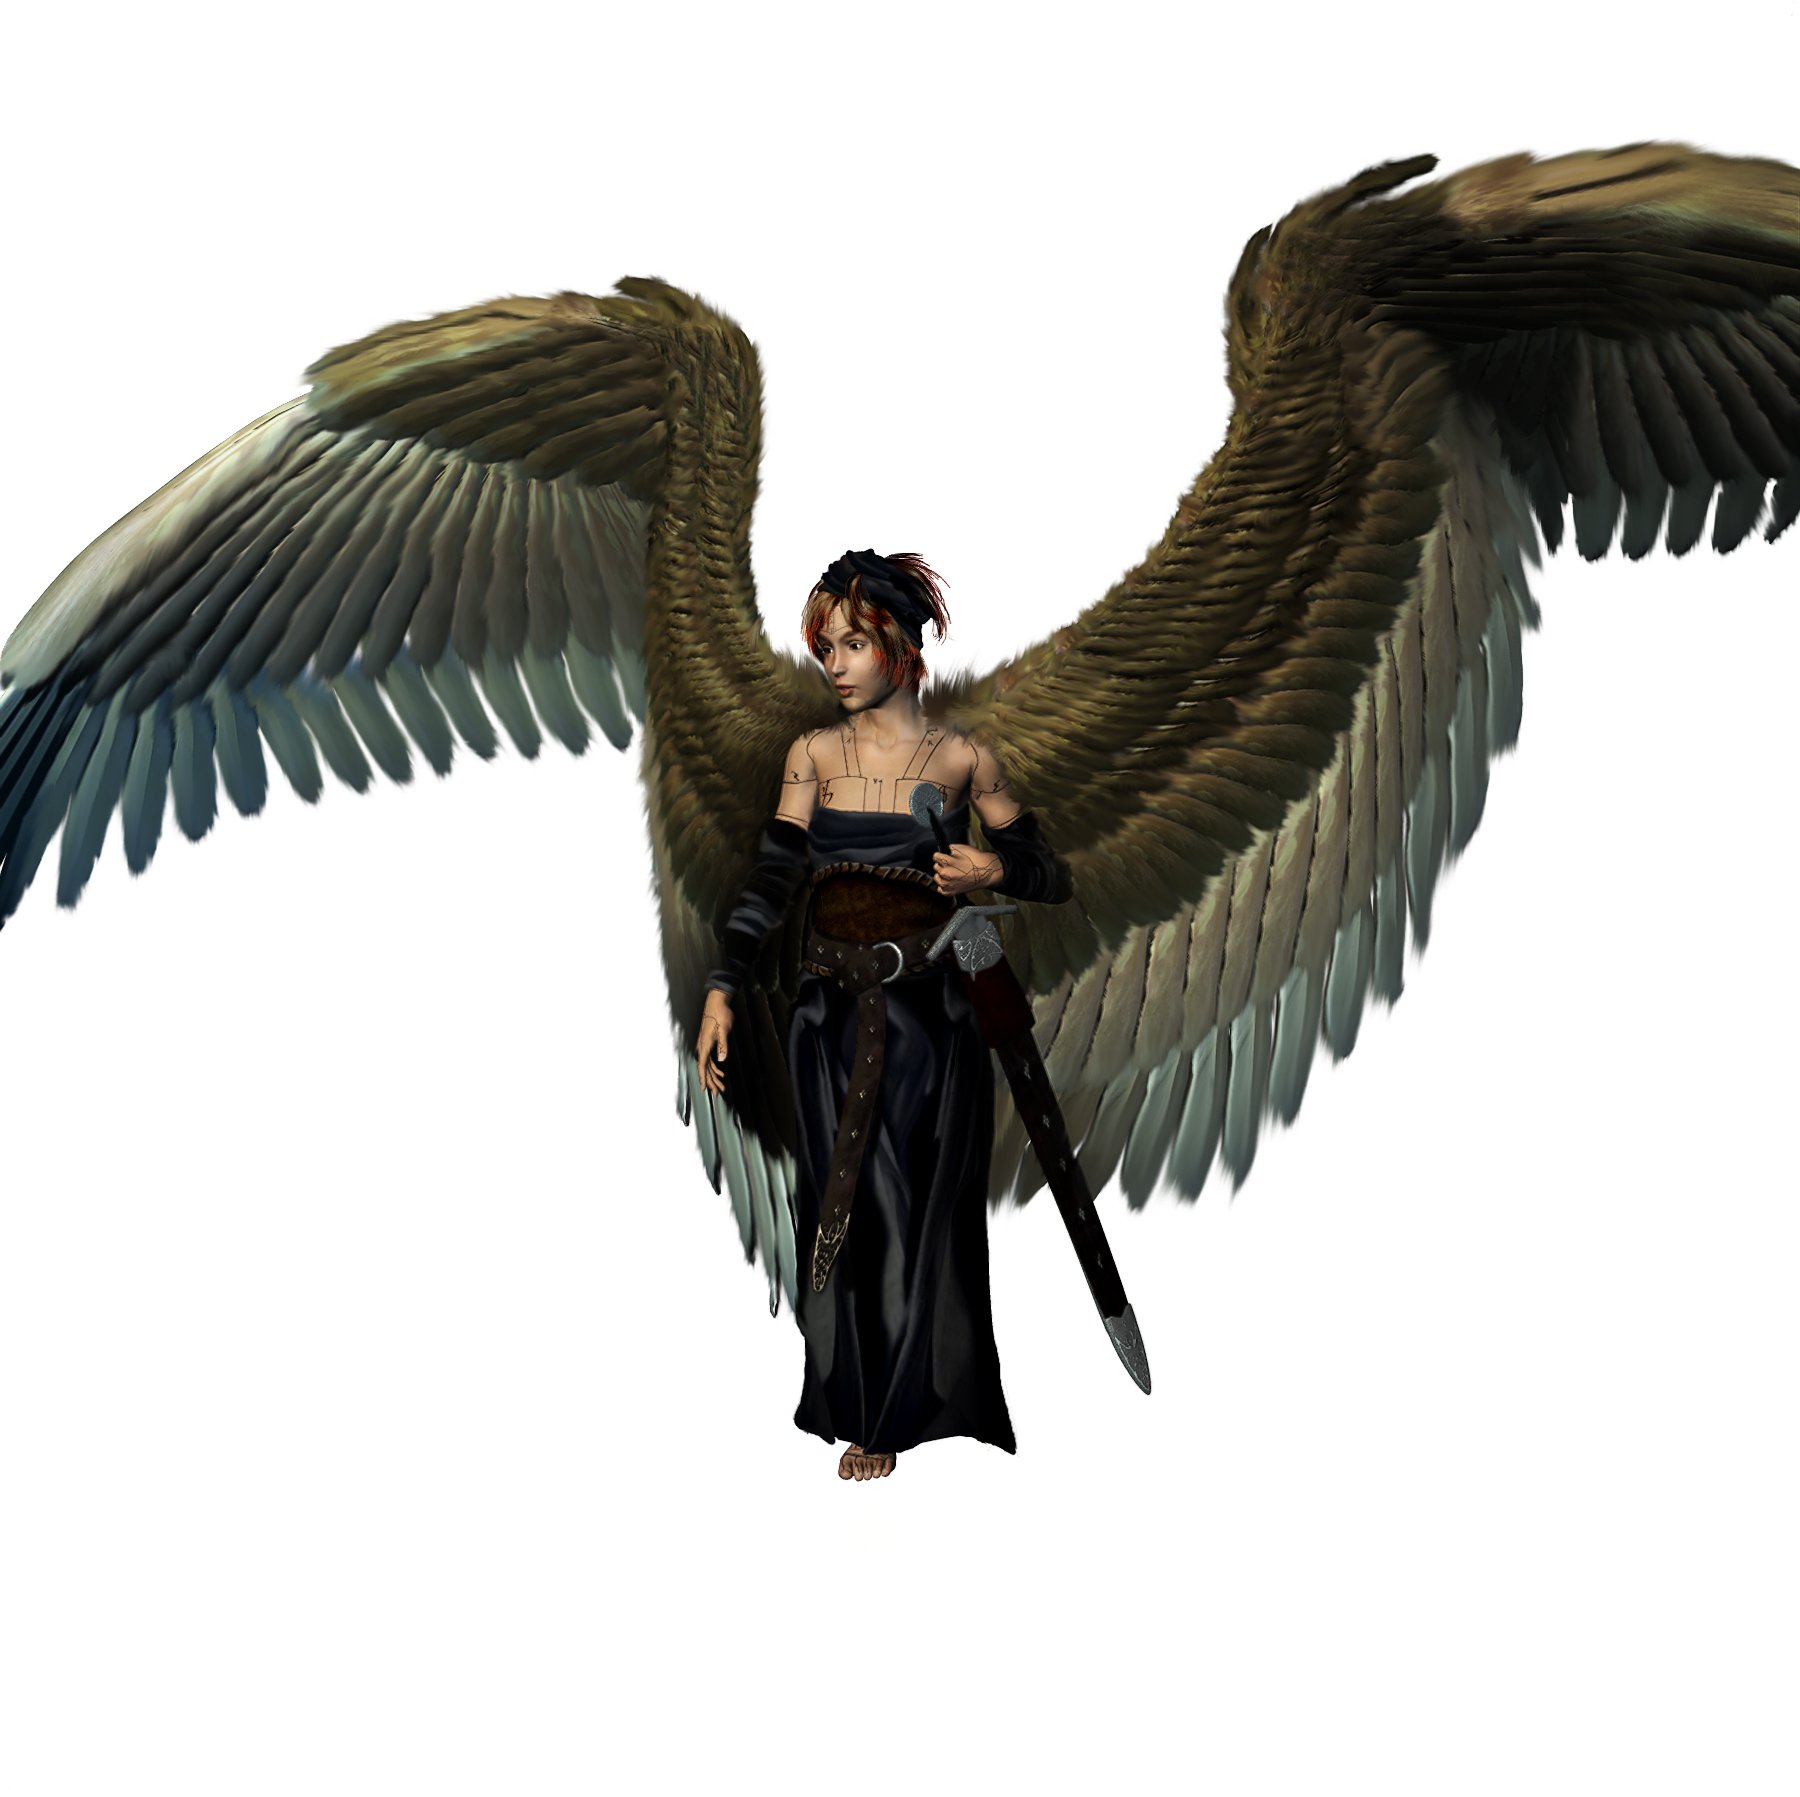
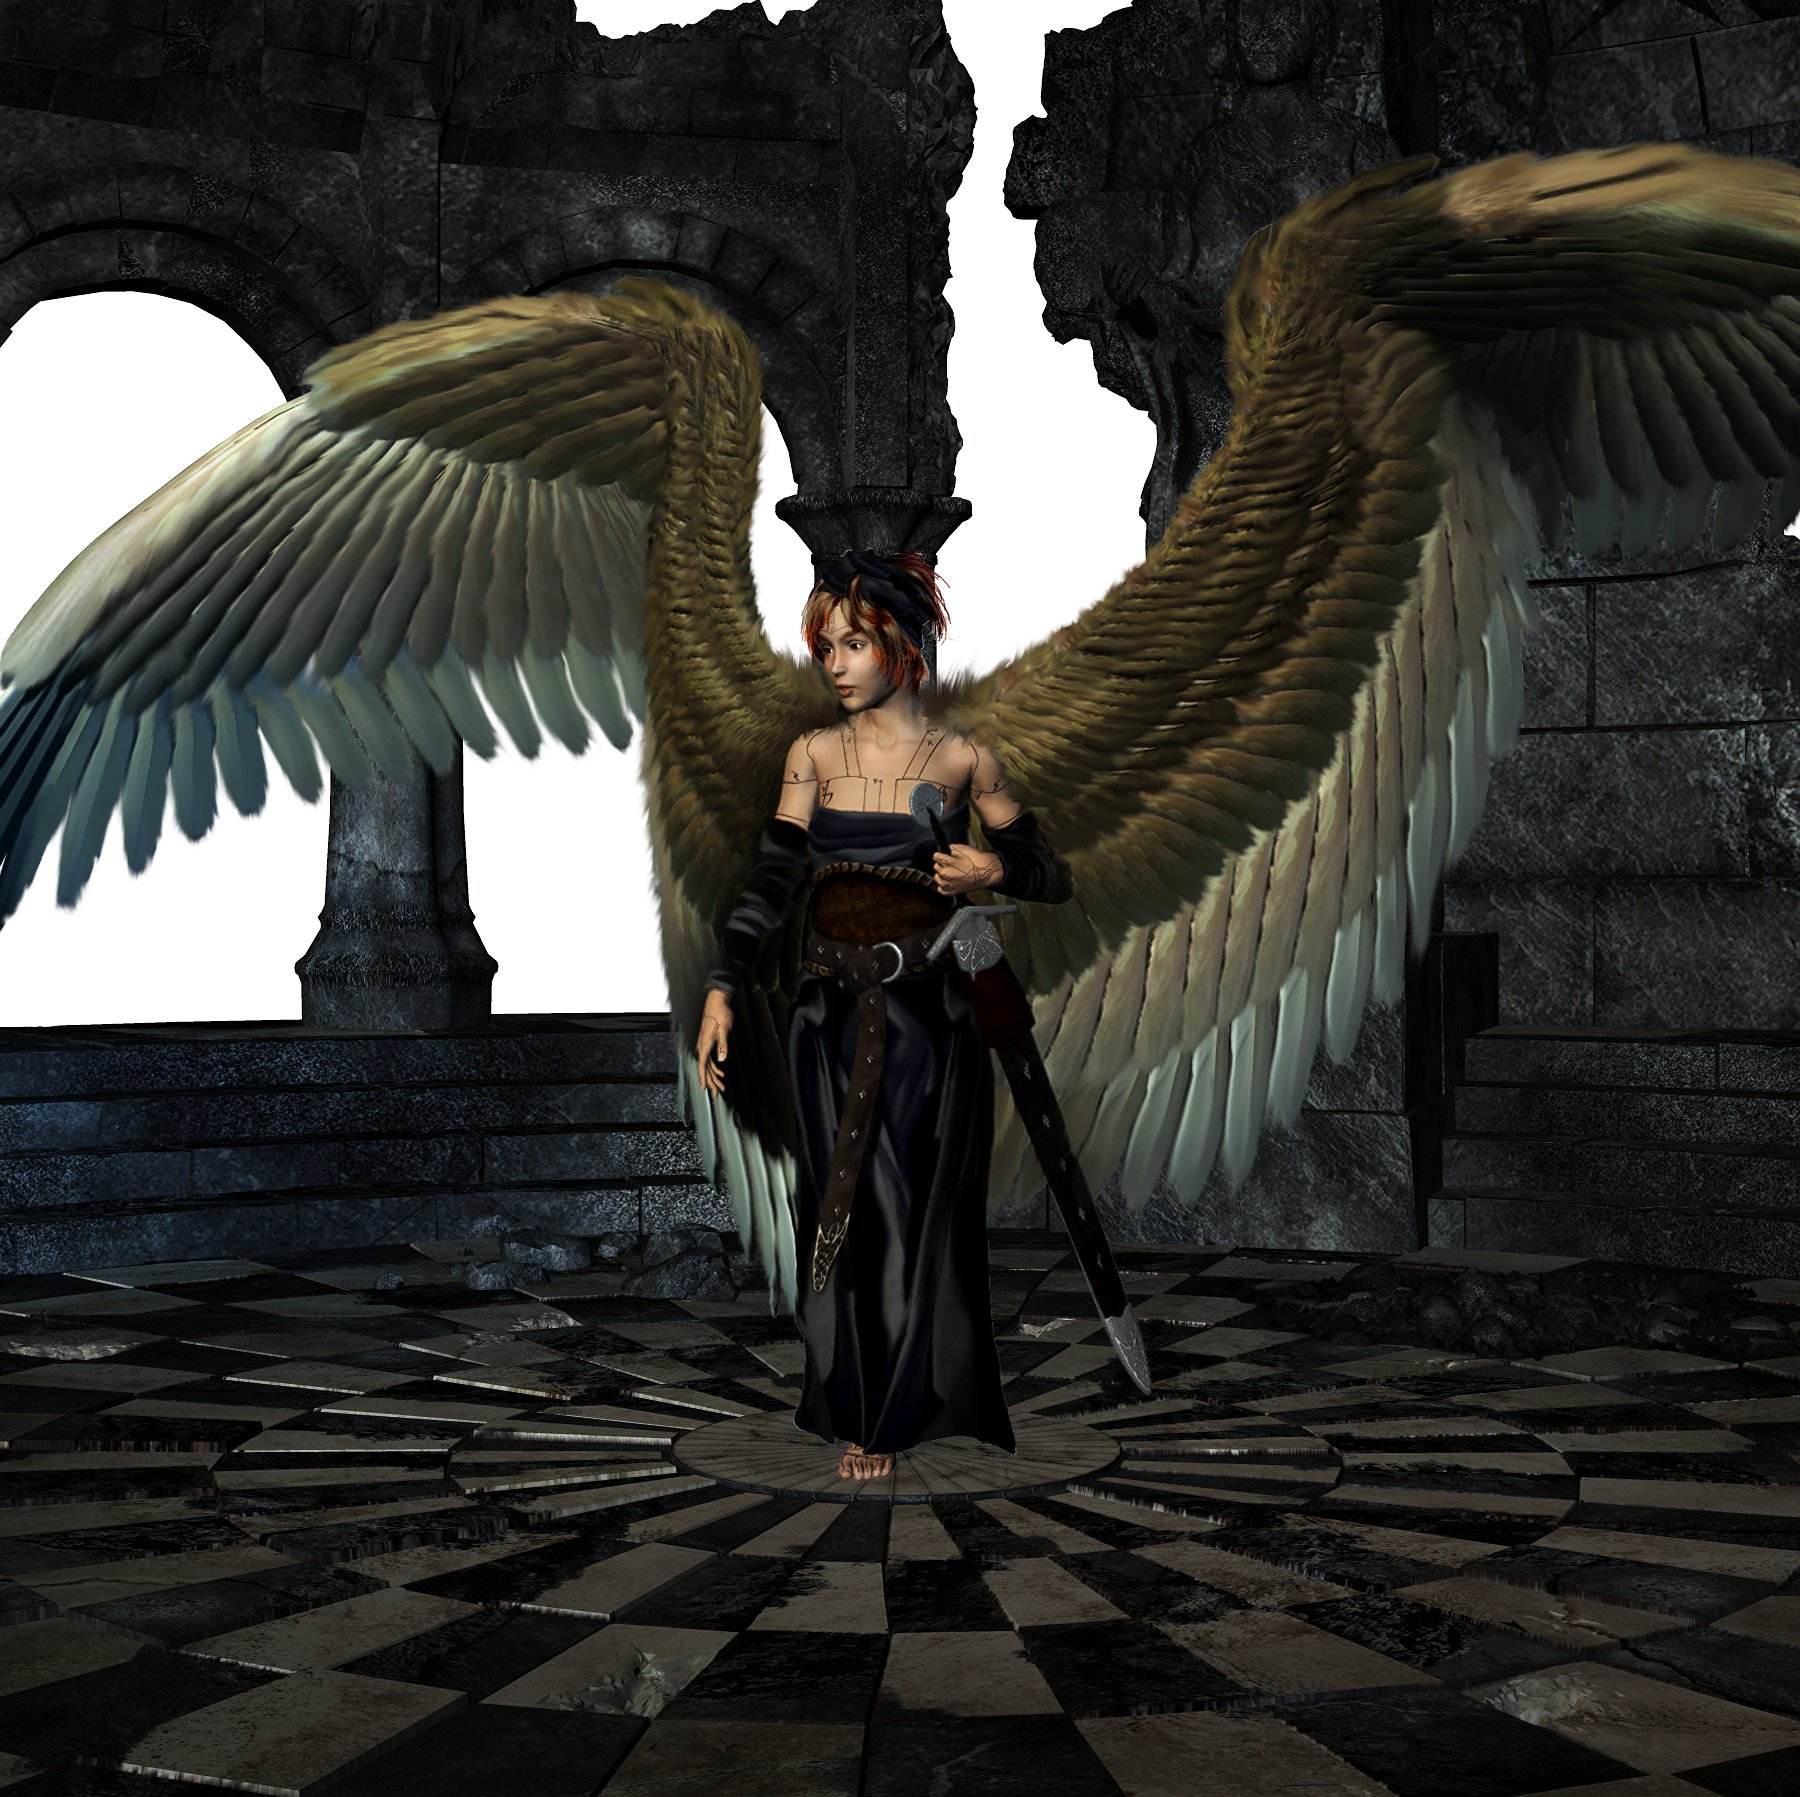
Now for the fun part. You finished rendering every piece of your sliced scene, saved every image at the same size and resolution and loaded them into Photoshop, Paint Shop, GIMP or whatever software you use to process images. It should be able to support muliple layers in pictures, but most graphic applications are able to do that. Open your first render - or that with the main figure in it. I worked a little on the main figure, adding some strips of black cloth on the head, drawing hair over and around them. But the biggest part was to rework the wings. Make them fluffier with assorted smudge tools, blur them a little, and so on. I added a plain white background behind the layer with the main figure for more contrast to see what I'm actually doing. When I'm done with the figure, I copy the first slice of the background into the picture - below the layer with the main figure (well, the other way around does not make much sense, does it? :-) ).
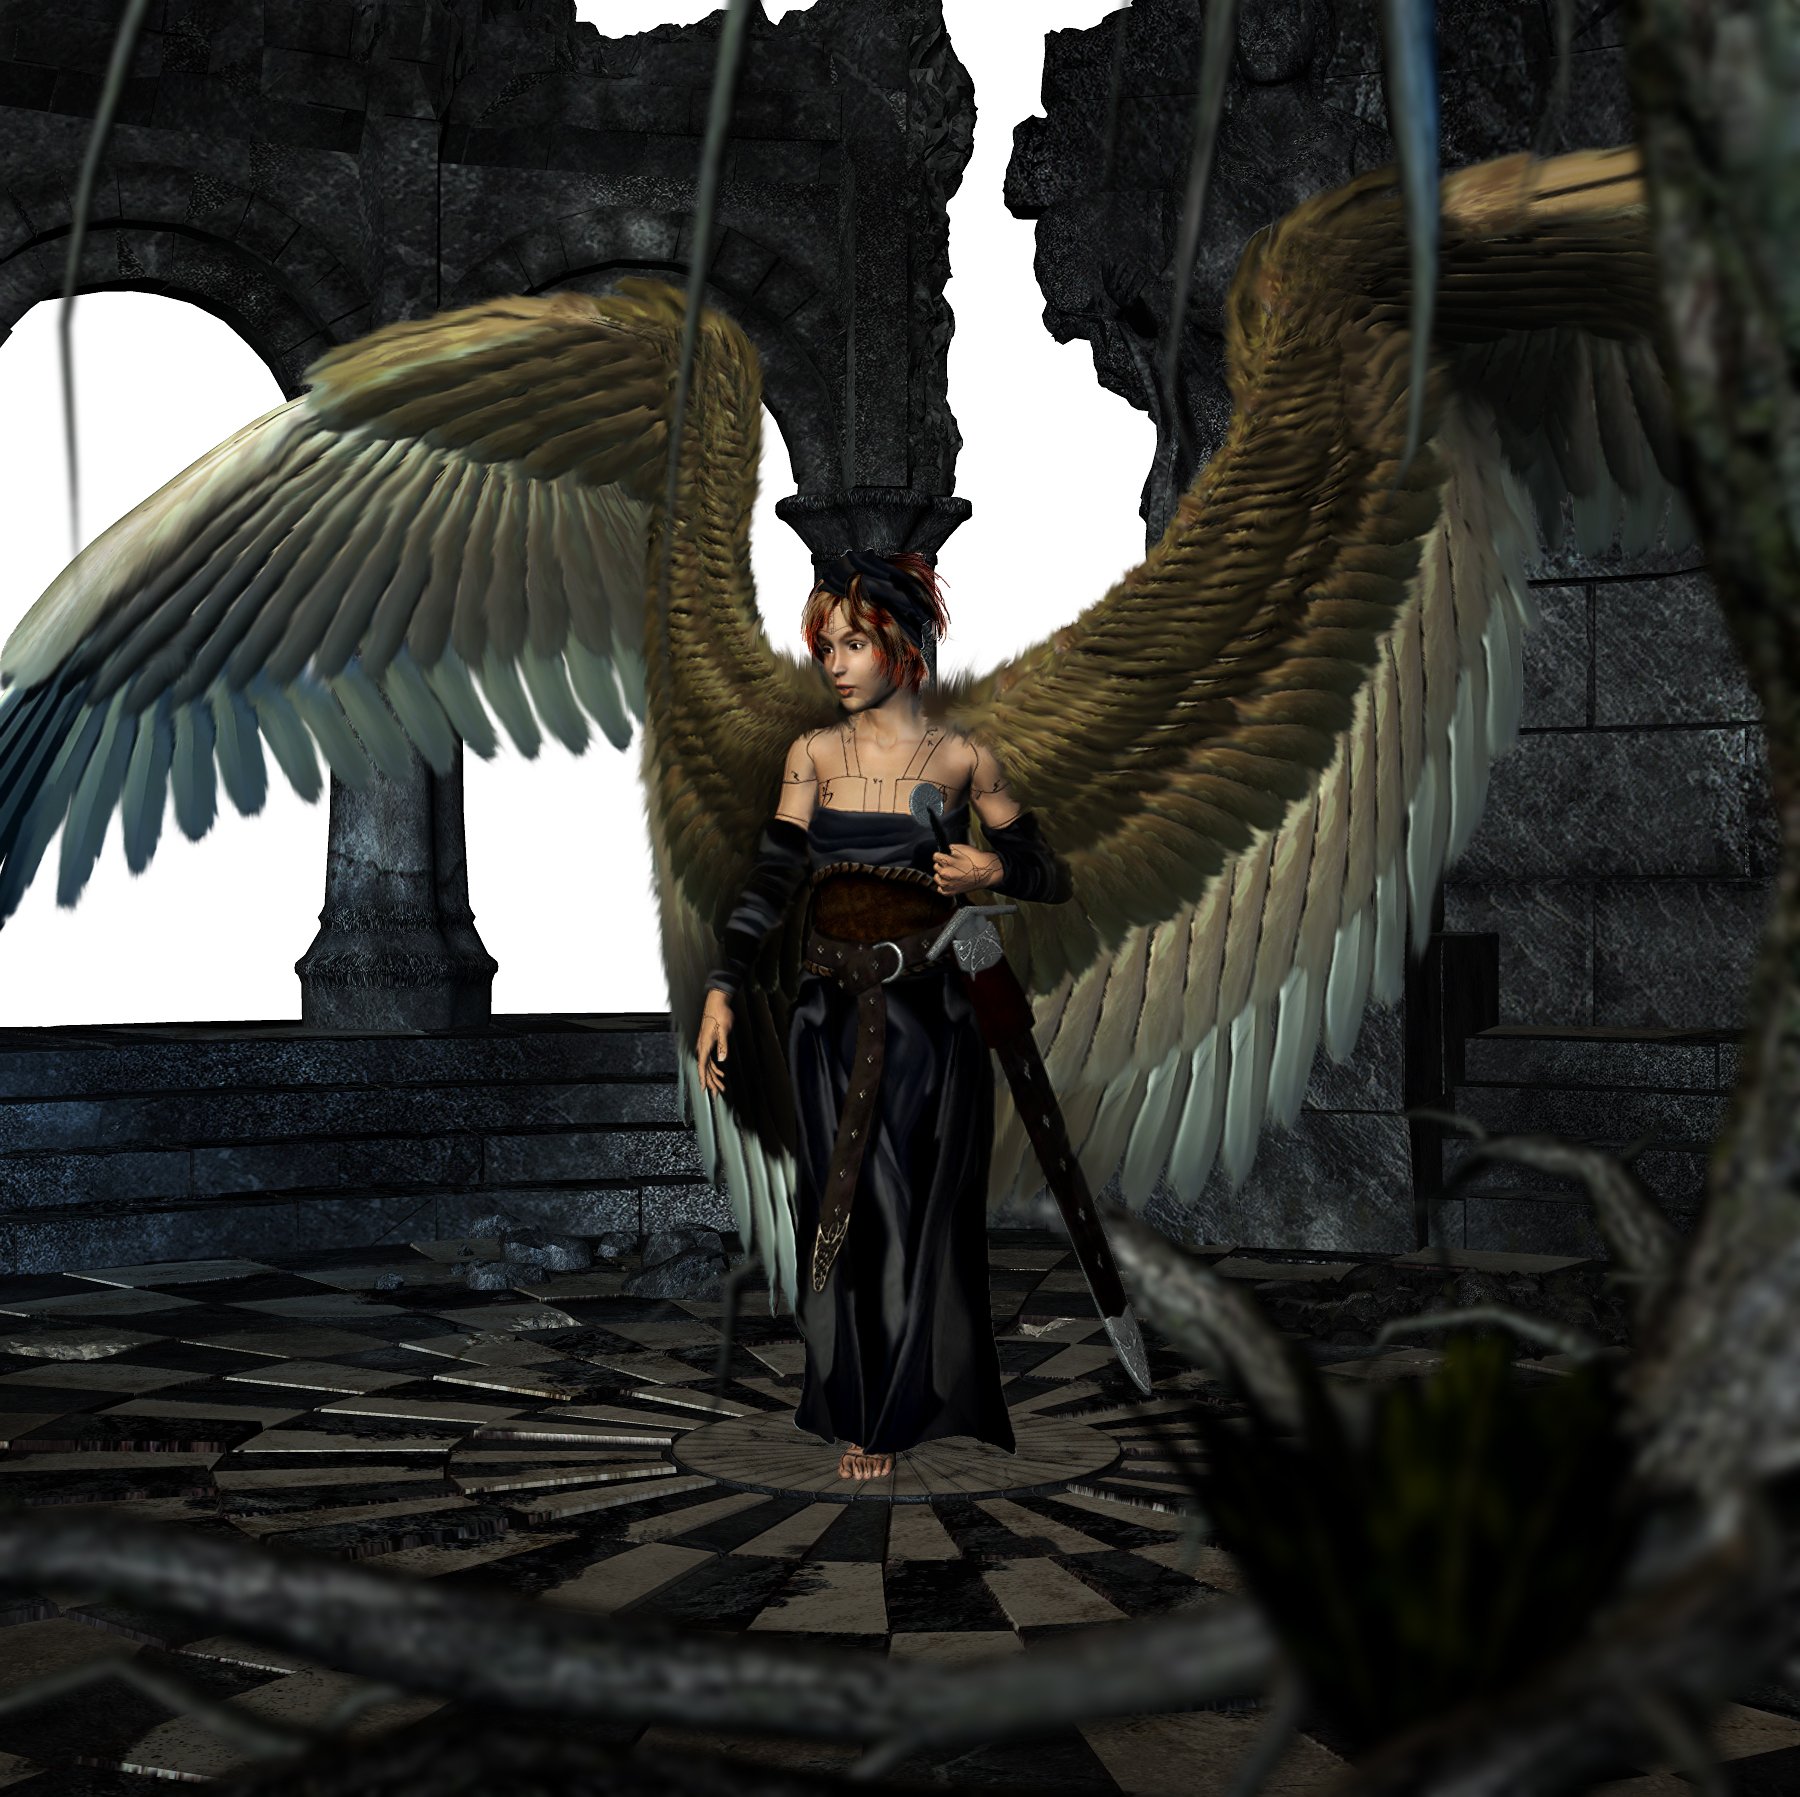
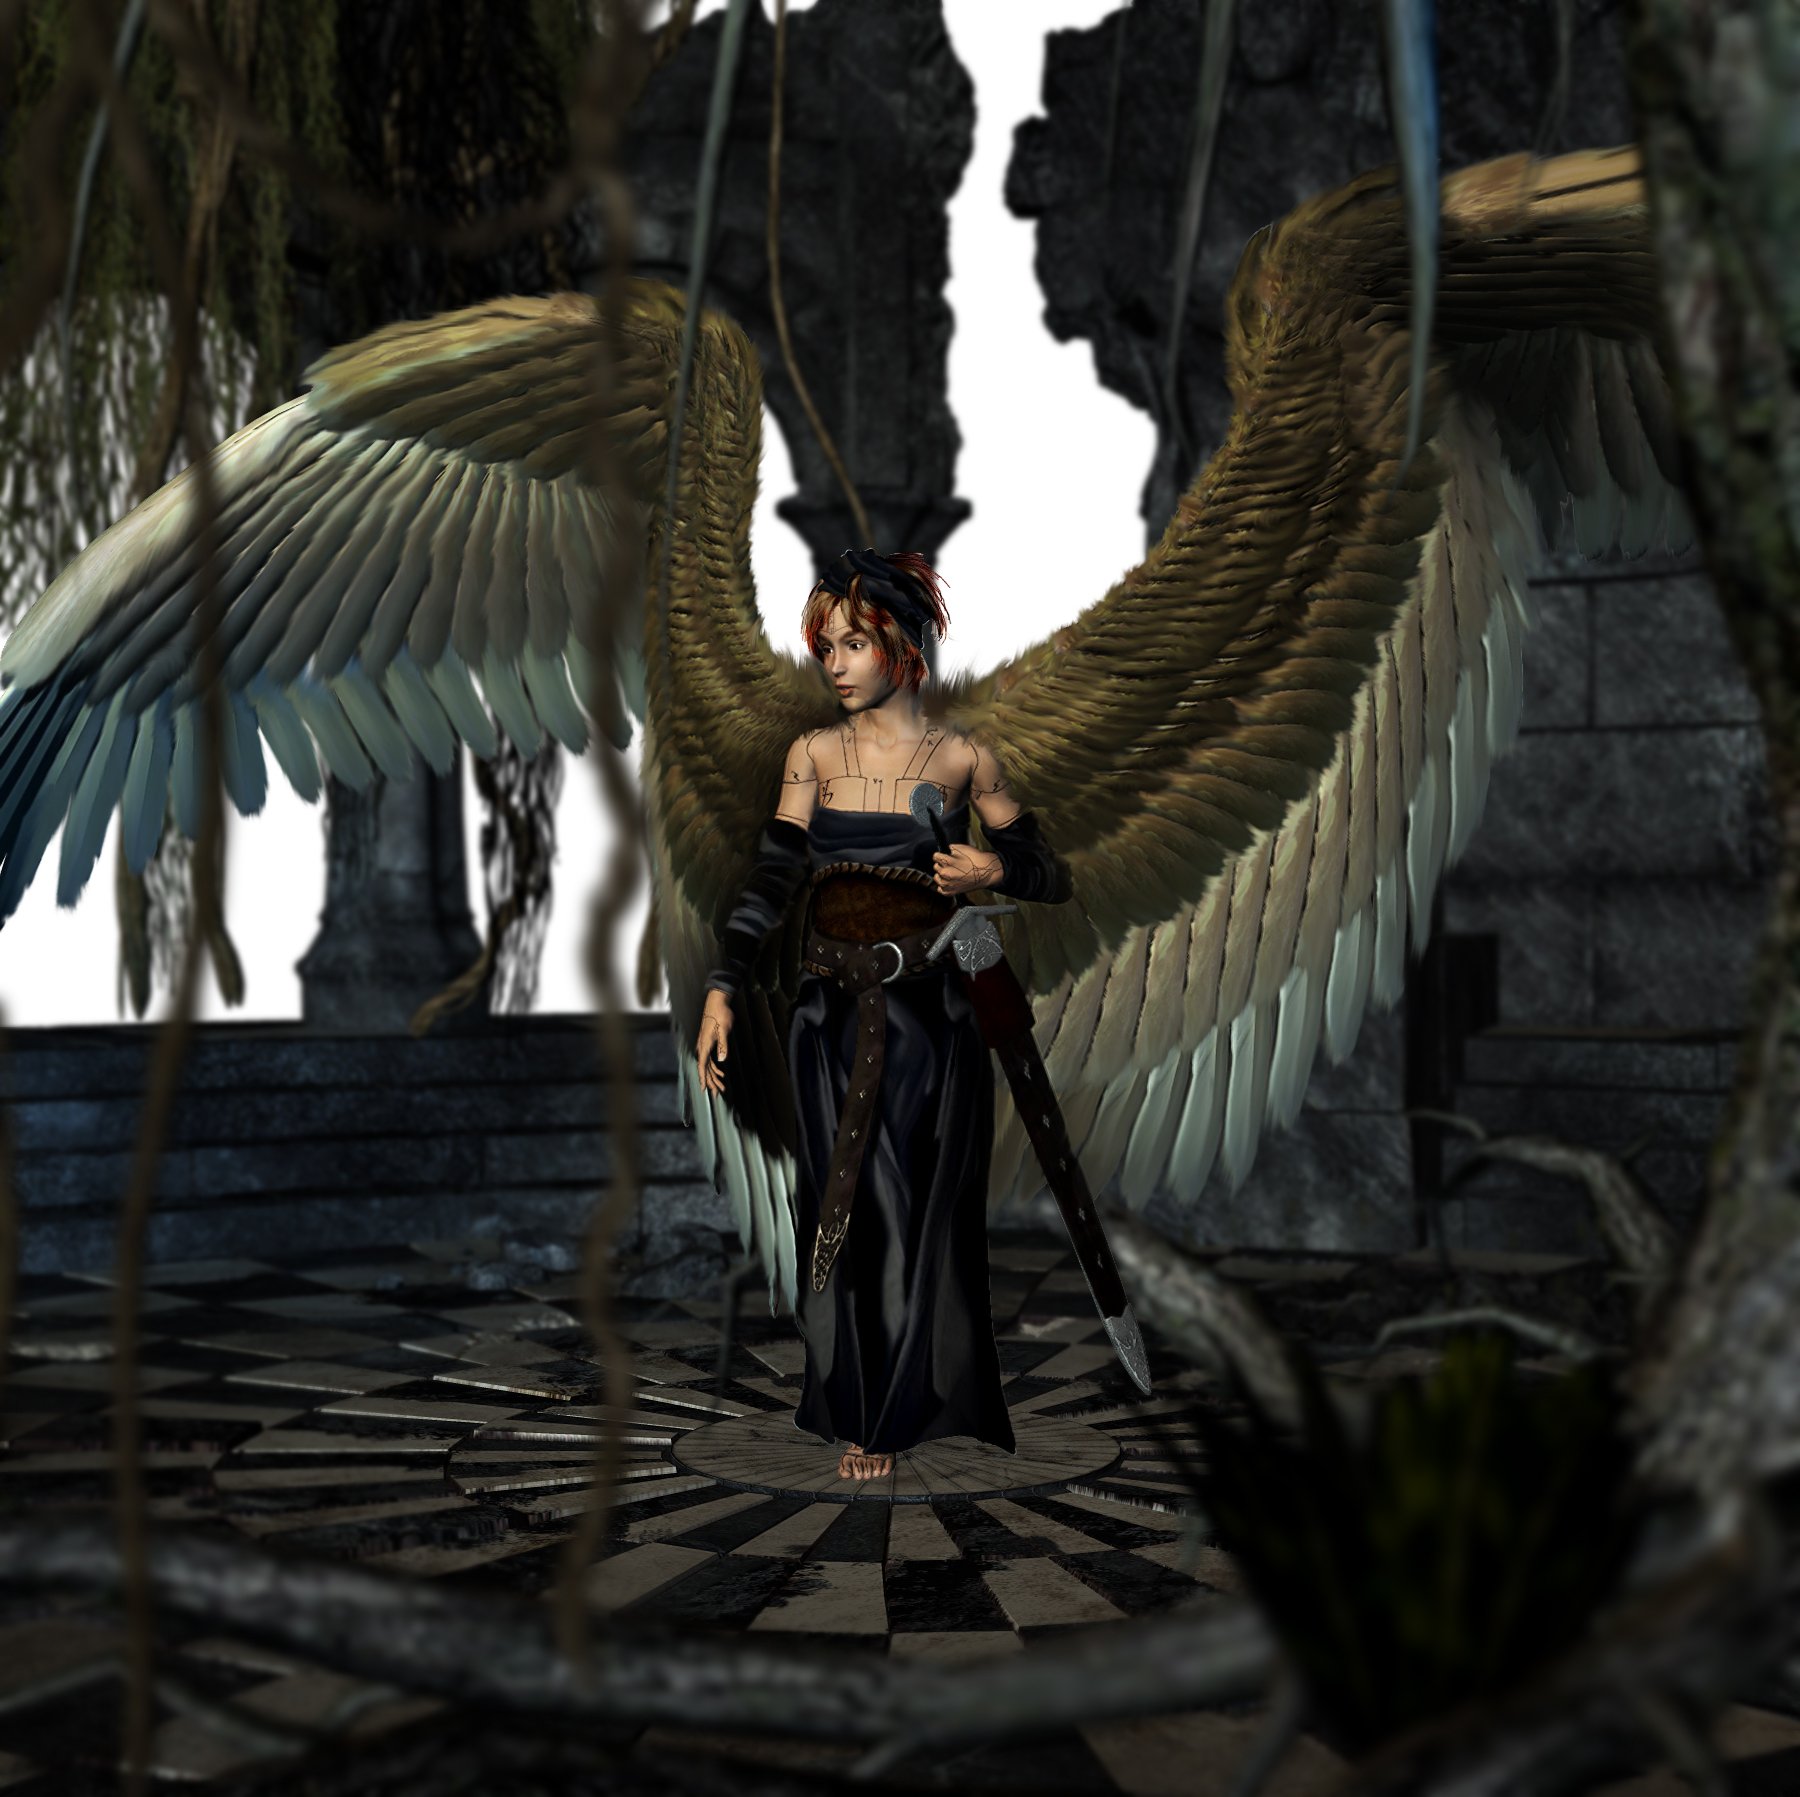
The next slice to add would be the one with the tress and the grass for the foreground. But now it gets a little tricky, since the tree roots in the picture extend into the background behind our main figure. A part of the root has to be erased in order to put this part of the tree behind our Engel. After this I added some blur to the tree, are better on those parts which come very close to the camera - and those which are far away from it. With a simple selection tool and a big feather area, I drew big and clumsy circles around branches, stem and root on the corresponding part and applied a simple blur on them. Yes, that's all about it, nothing more! I used the same blurring technique on the vines in the foreground and in the backgropund, making them nearly translucent so they would not become too obtrusive for the picture. It would not do to divert attention from the Engel to some random plant in the foreground... The last few steps are not that much to do. I didn't add much more, but simply worked on the depth of field effect, fine tuned it a little, so to speak. The skirt of the Engel, her hair and wings were another part I straightened a little before I added a background which fit in colour and mood to the picture. Well, that's it. The picture is finished! I did not apply any spectacular post processing filters here because this would go beyond the scope of this tutorial.
|