|

"Making of Jalaniel"
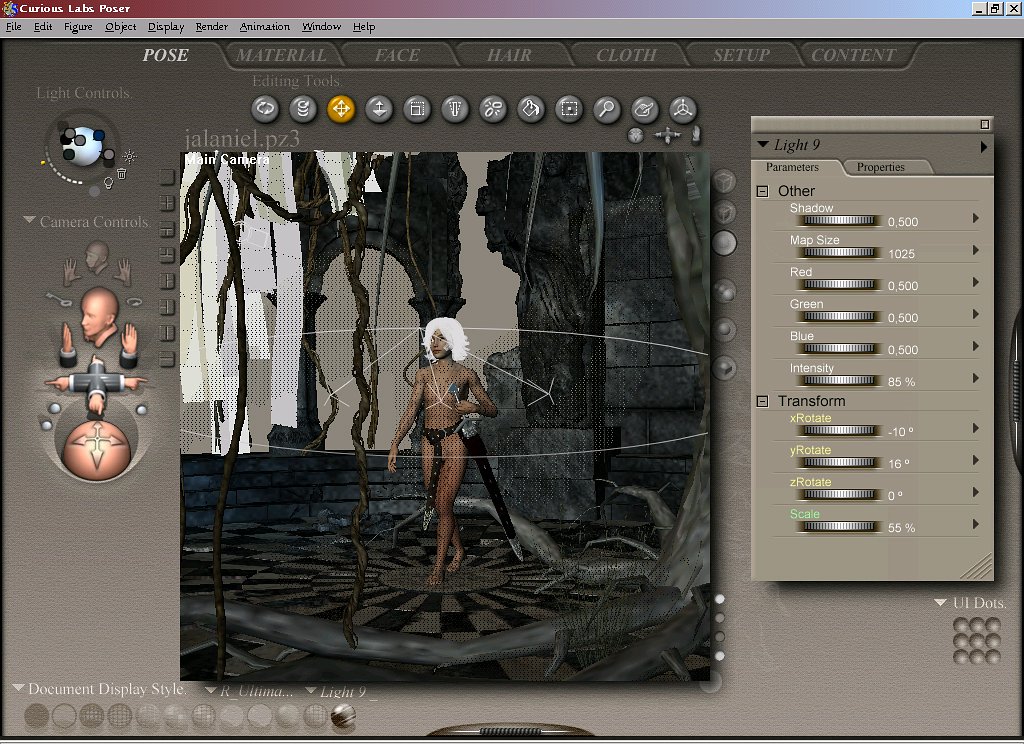
Lighting

Now you're up to one of the most challenging parts of a scene: the lighting.
I don't claim to be a master of lighting a scene. It is a true science in itself and can take as much time as setting up the scene has already taken for itself. There is no universal recipe to light a scene. It depends on what you want. Lighting can make the scene dramatic, creepy, or simply show off your main figure. I think this would be a nice subject for another tutorial (any volunteers? *g*)
In this scene, I simply tried to add some light that illuminates the main figure, since she is the true subject of this picture.
I changed one of the three infinite lights into a spotlight by changing the properties in the corresponding panel to the right of the document window. The rest was playing with the x, y and z rotate dials, translating the lights source as well. I switched to the view of the Top Camera , zoomed out until I could see my light source (the things looking like movie set lamps, outlined in white), grabbed and moved it around until I got what I wanted: a nice center illumination of the core figure.
Switching back to the main view I noticed some odd shadows the newly positioned spotlight had created.
After lots of rotating, translating and switching around cameras I finally came up with my three standard lights in different colours (yup, I changed the light colours as well), and then found, three light sources were not enough for such complex a scene.
So, after adding a few more lights and distributing them, I had one main light source, which was the brightest, two secondary light sources to the left and right of the main figure to illuminate the wings, and several other lights to fill a few ugly shadow gaps that looked like black holes in the scene.
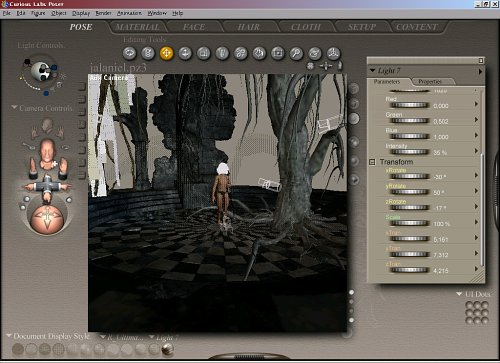
To check light positioning and the effects of the positioned lightsources, I rendered a few quickshots with the P4-renderer only, in a very small image size. This takes time and patience as well, but it should be done before you start your final render and find awkward shadow dots and stripes where they shouldn't be.
  
|